> For the complete documentation index, see [llms.txt](https://help.parta.io/llms.txt). Markdown versions of documentation pages are available by appending `.md` to page URLs; this page is available as [Markdown](https://help.parta.io/editor/edit-elements/set-interactive-elements/grouping.md).
# Grouping
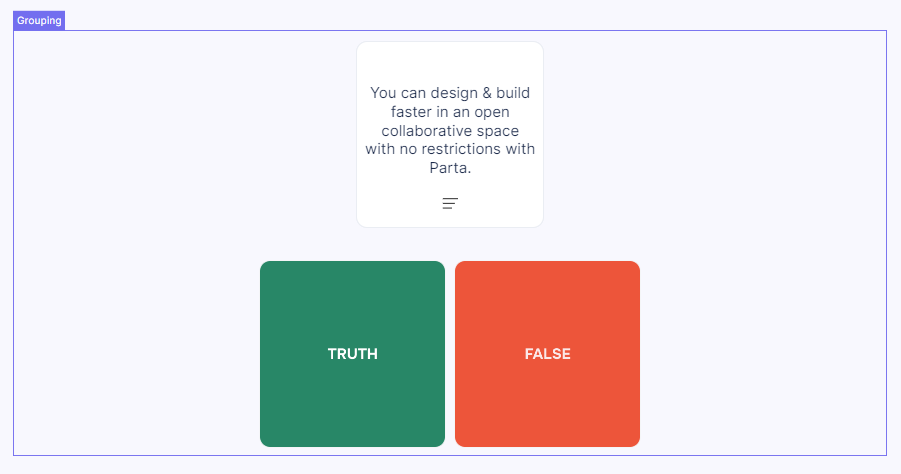
Allows the user to group related items or content together. For example, grouping can be used to display multiple blocks of information together.
#### Double-click on an element to view its settings.
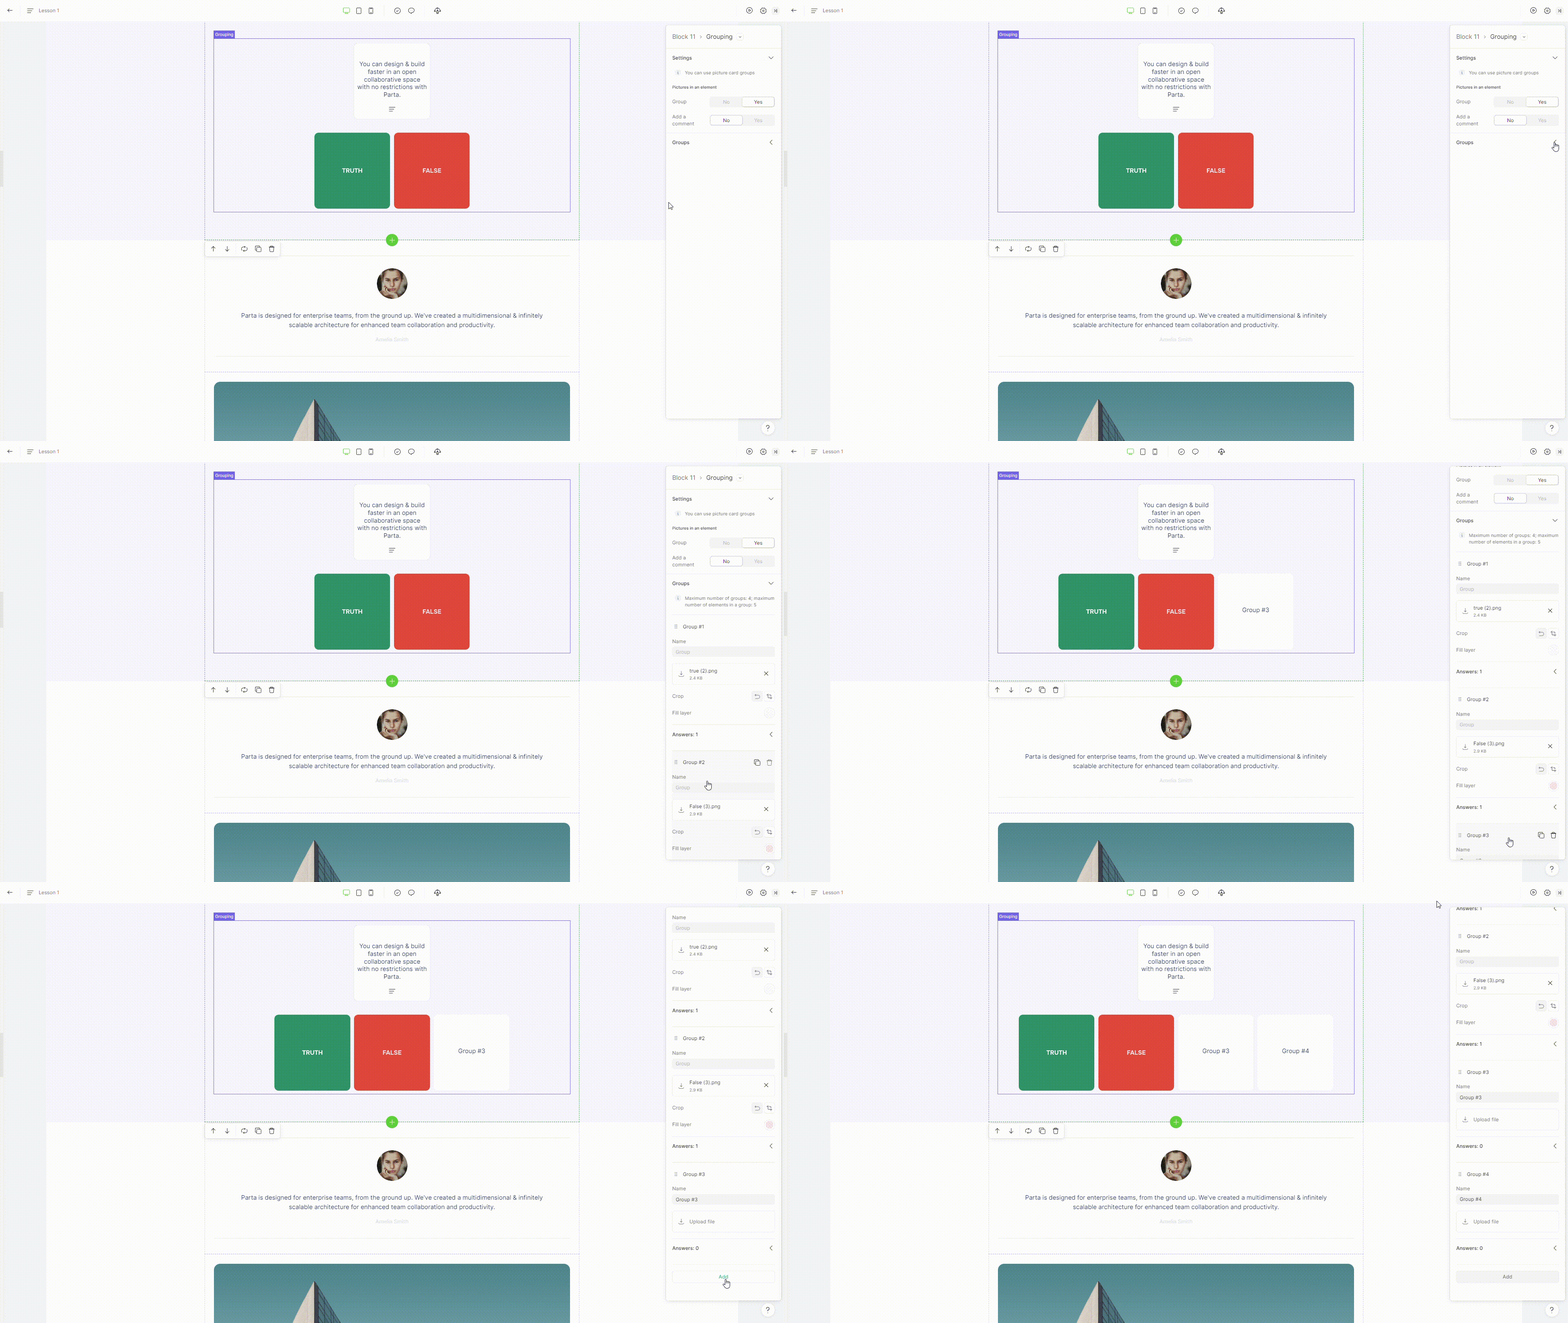
### 1. Add group item
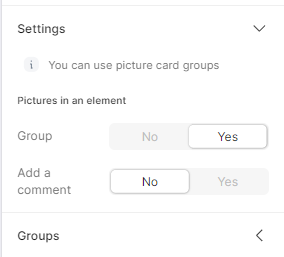
To add a new group, click on "**Add**" button placed in the element settings
{% hint style="info" %}
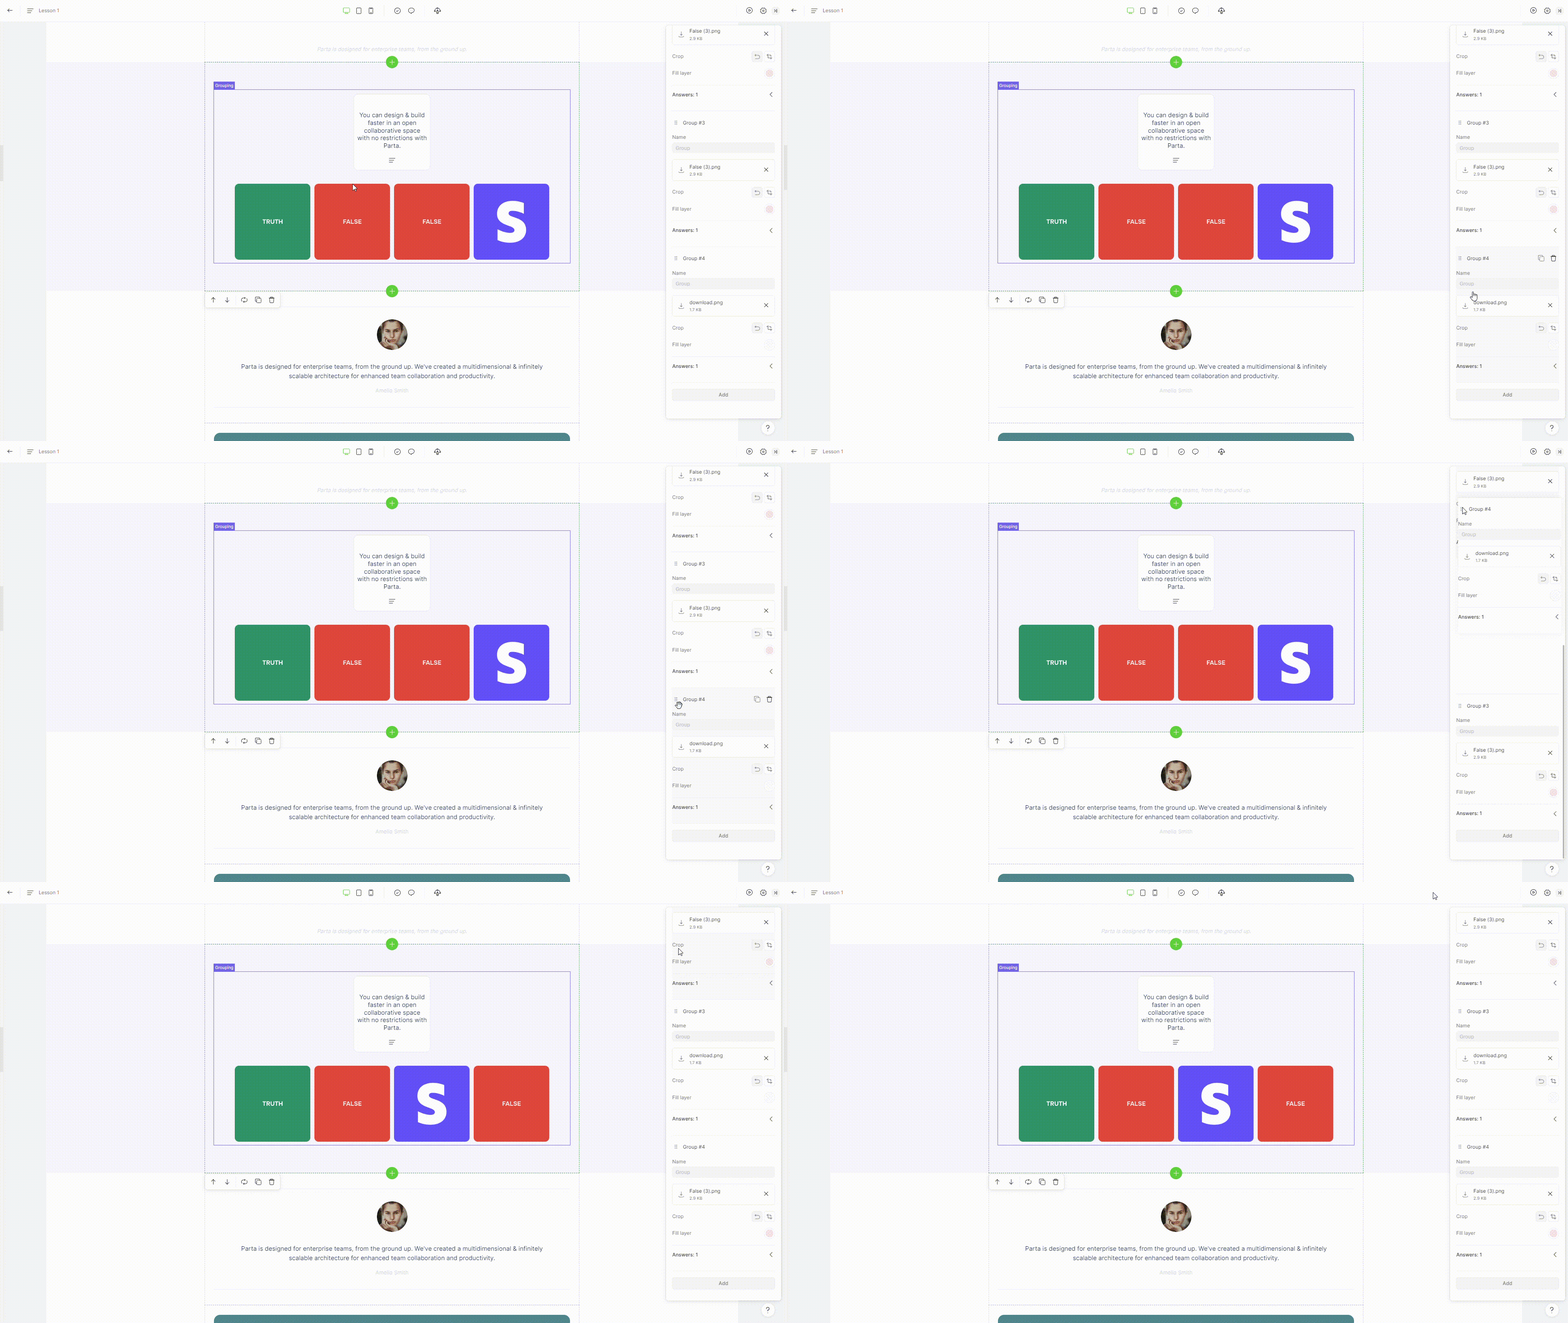
Maximum number of groups is 4
{% endhint %}
### 2. Add correct answer to a group
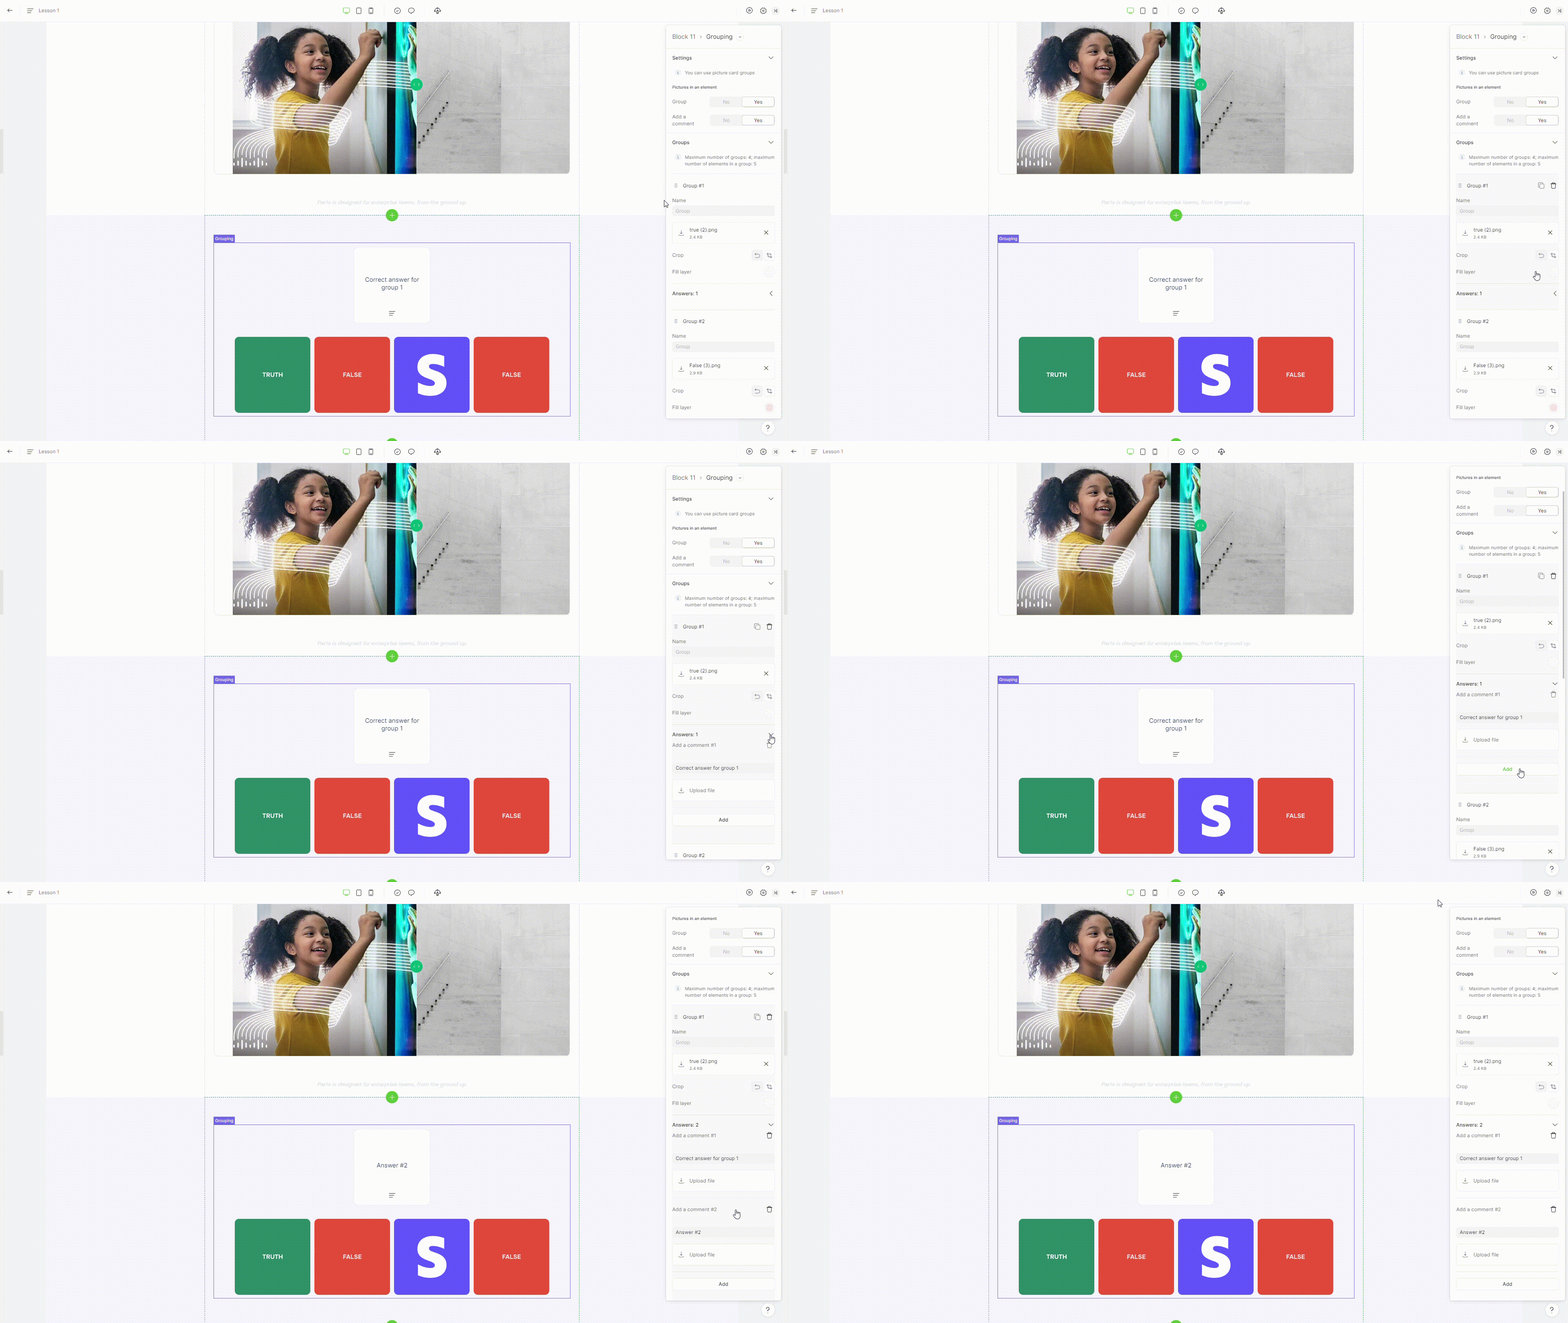
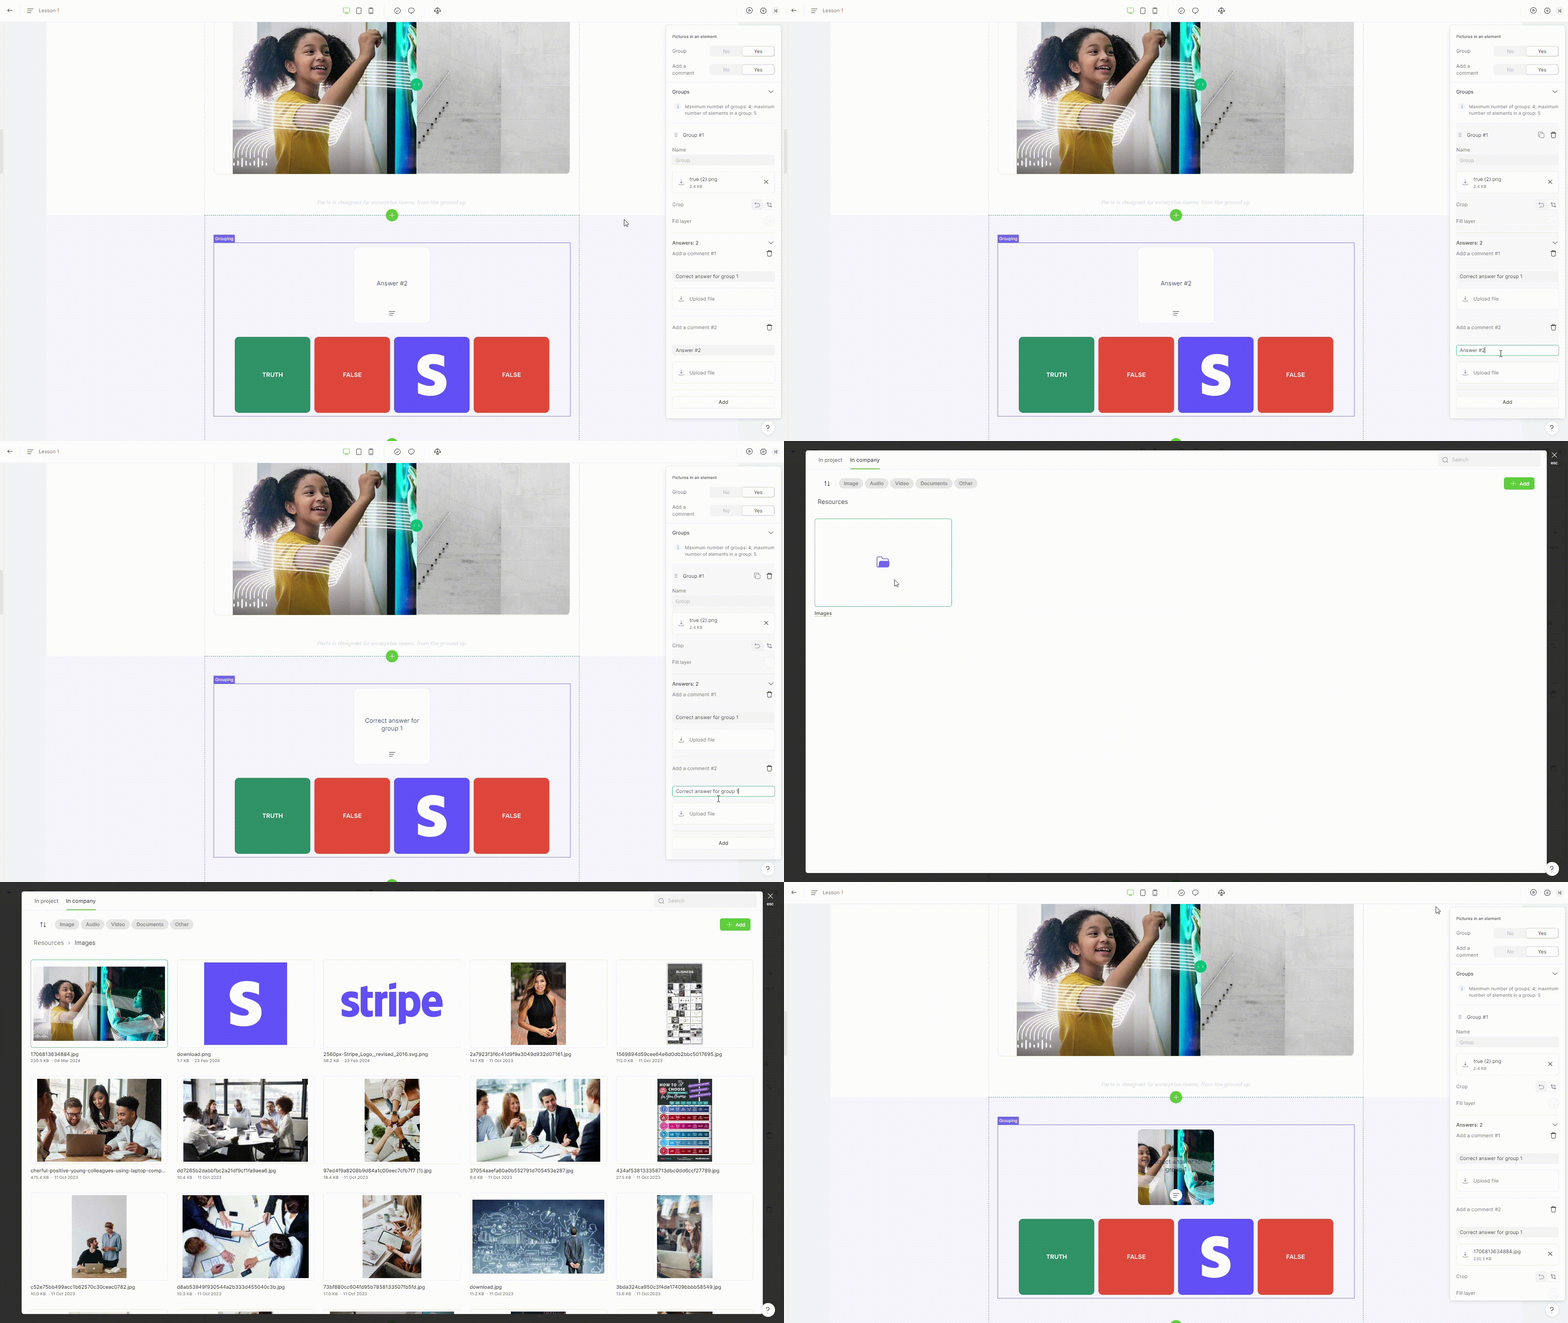
Choose the group where you want to insert the correct answer, and then click on the "**add**" button located within that group.
{% hint style="info" %}
Maximum number of elements in a group is 5
{% endhint %}
### 3. Edit answer
To edit the answer, add a text and image in the selected group settings.
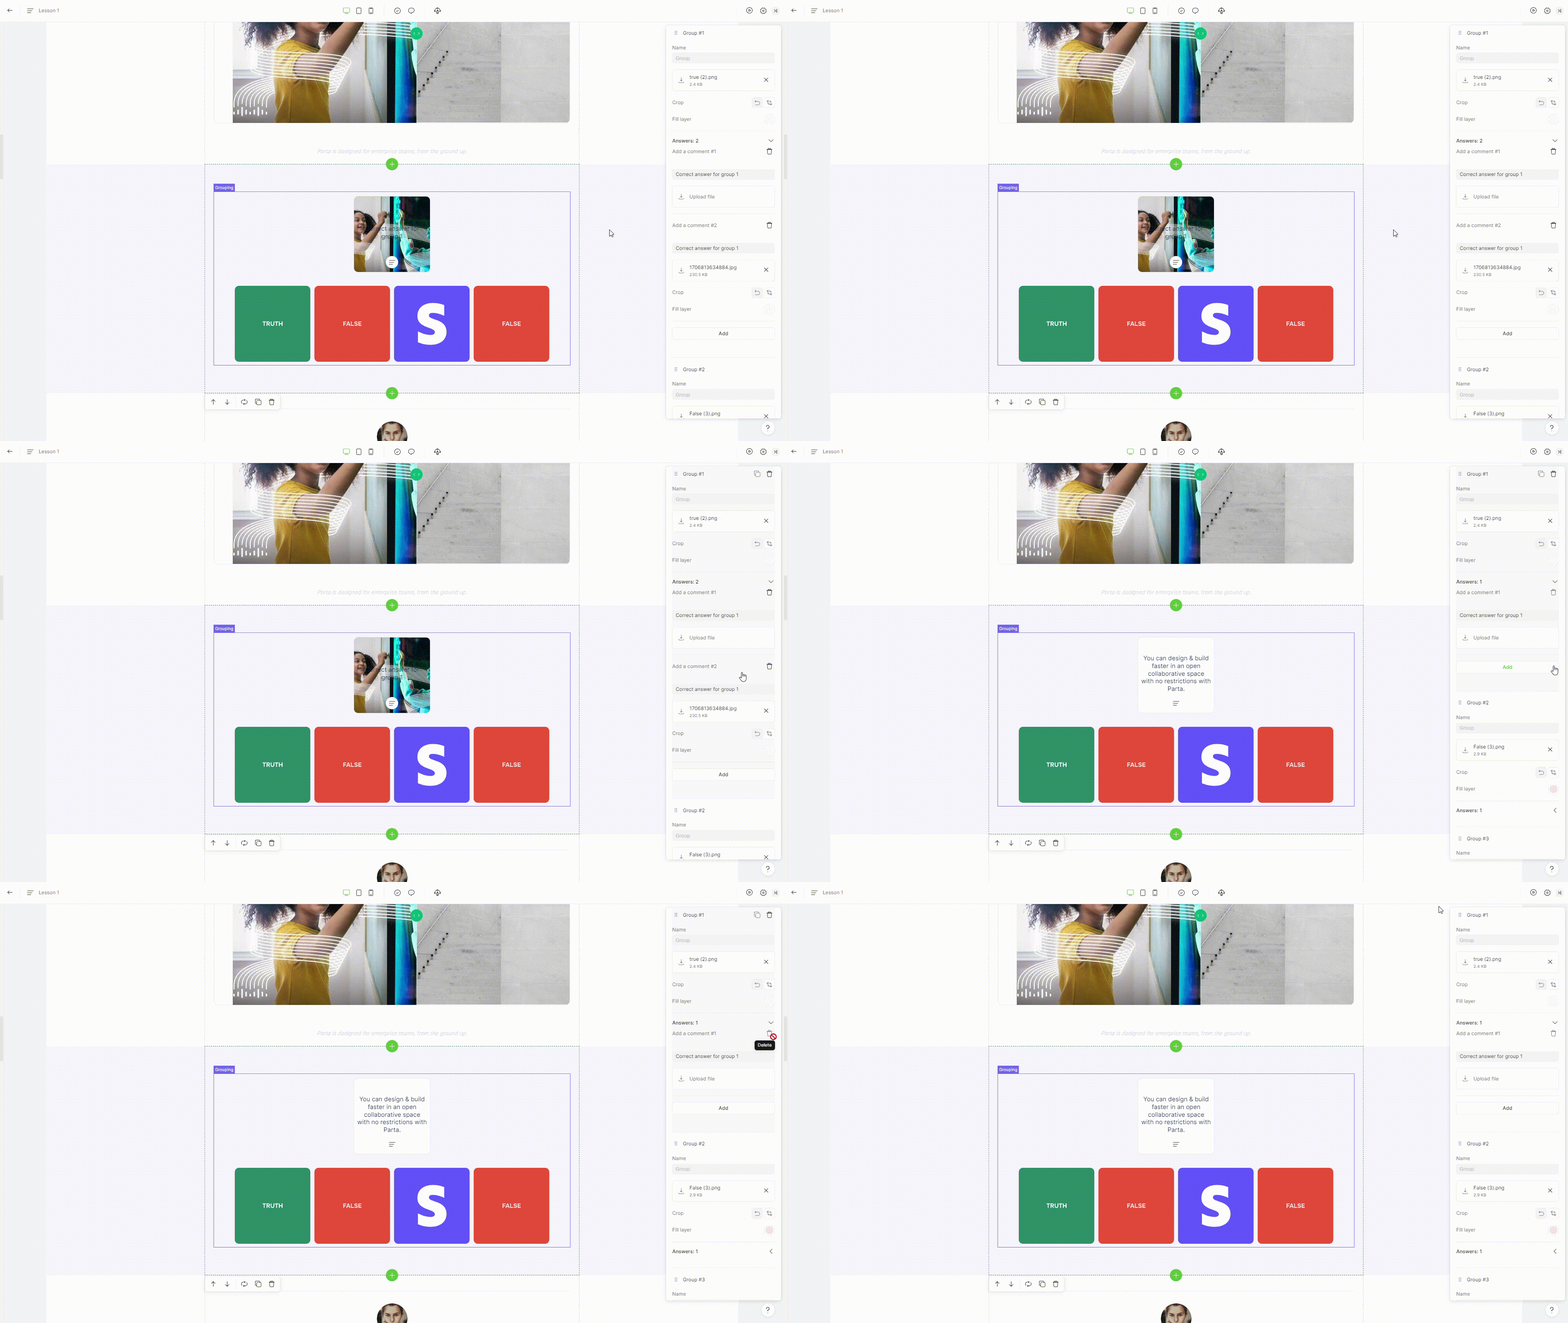
### 4. Delete answer
To remove answer from the group, select the **"delete"** option in the selected group settings.
{% hint style="info" %}
{% endhint %}
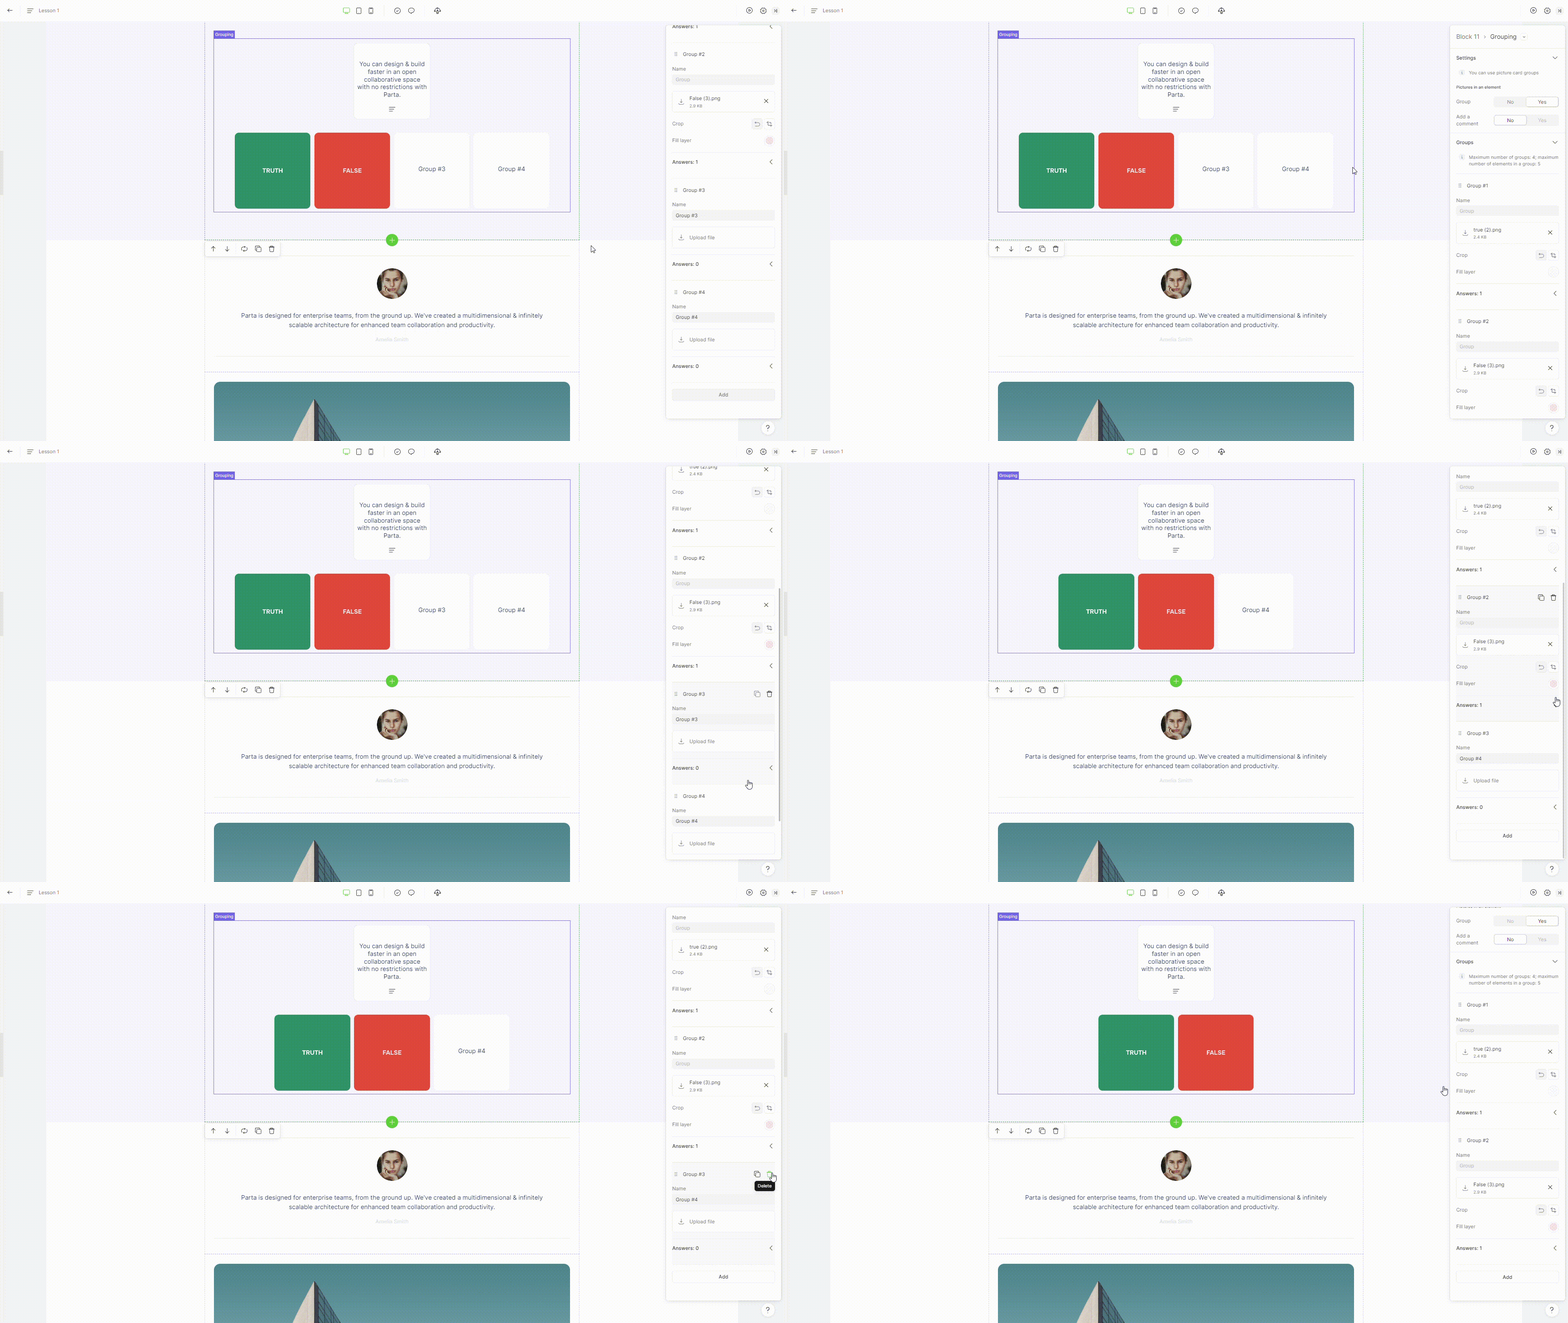
### 5. Delete group
To remove a group, select the **"delete"** option in the element settings.
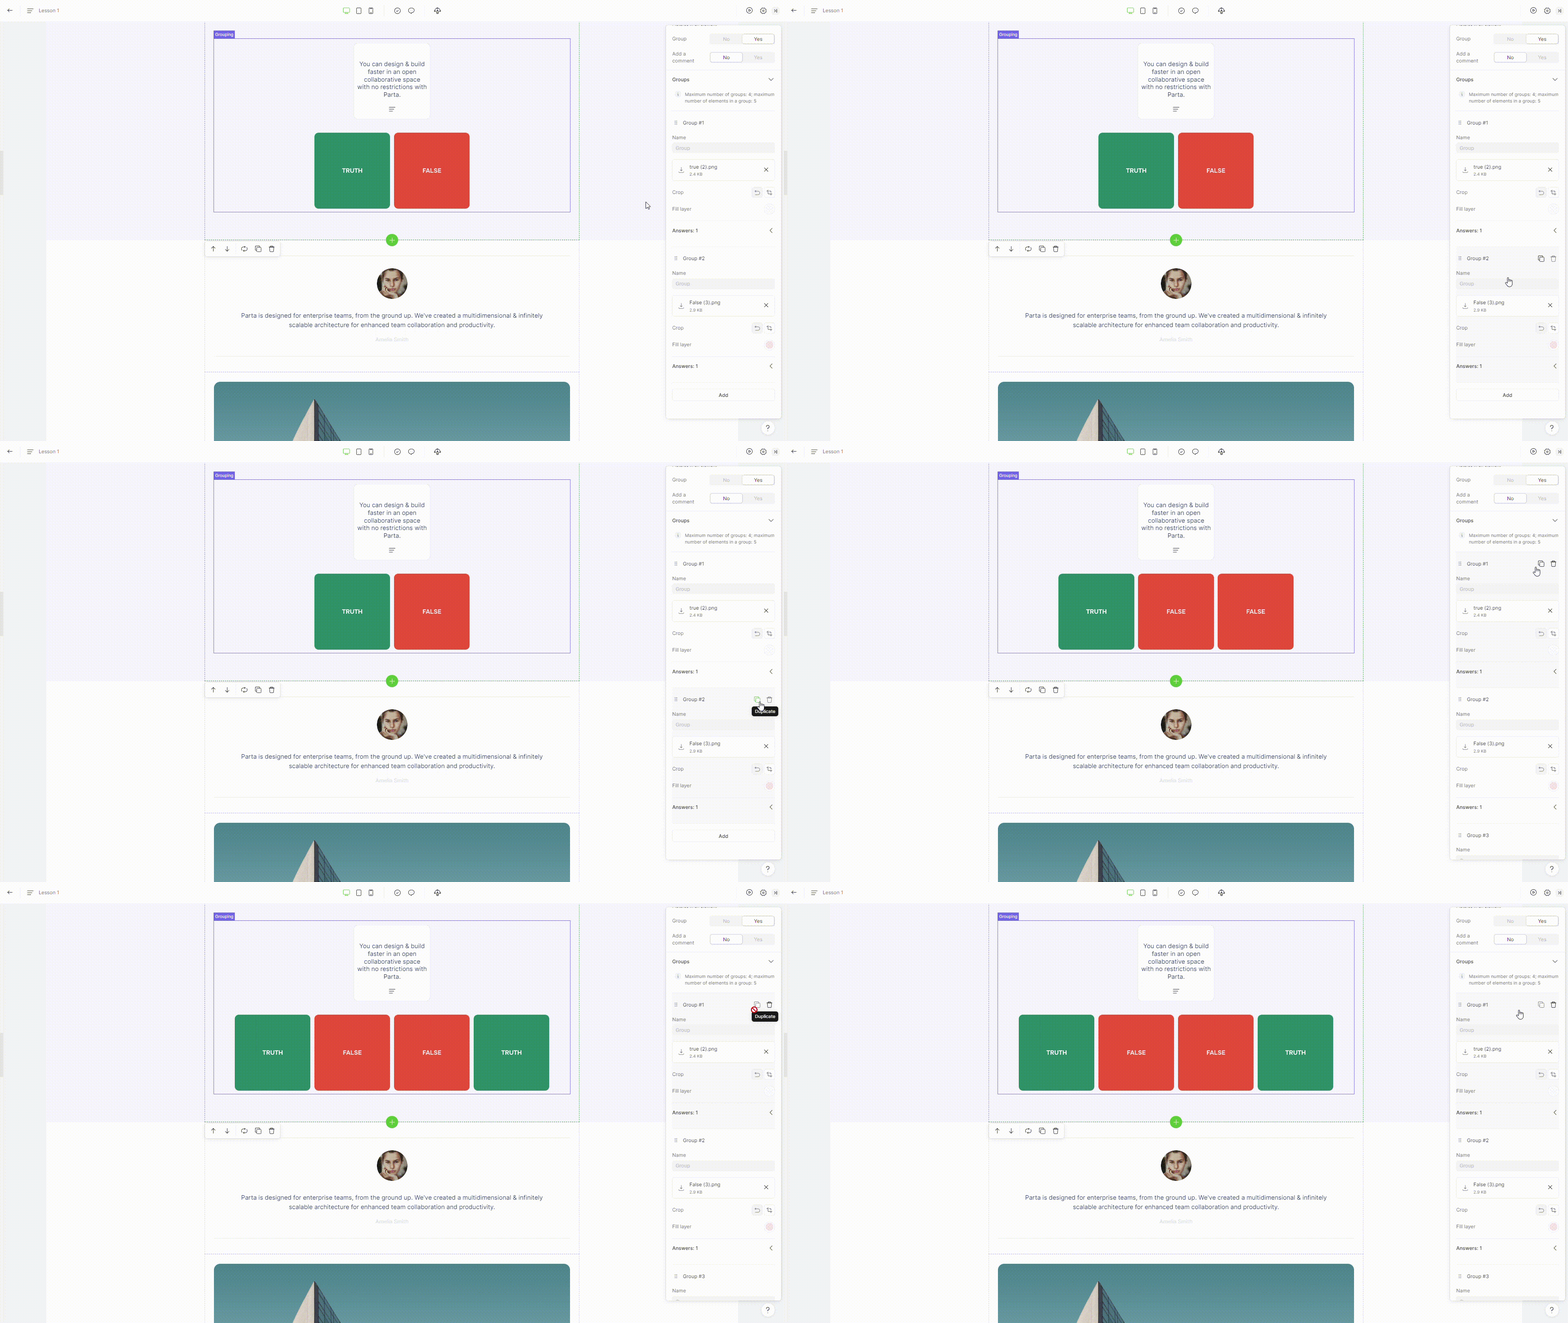
### 6. Duplicate group
To duplicate a group, select the **"duplicate"** option in the element settings.
### 7. Move group
To move a group, just drag the group to where you want it to appear.
### 8. Upload group cover image.
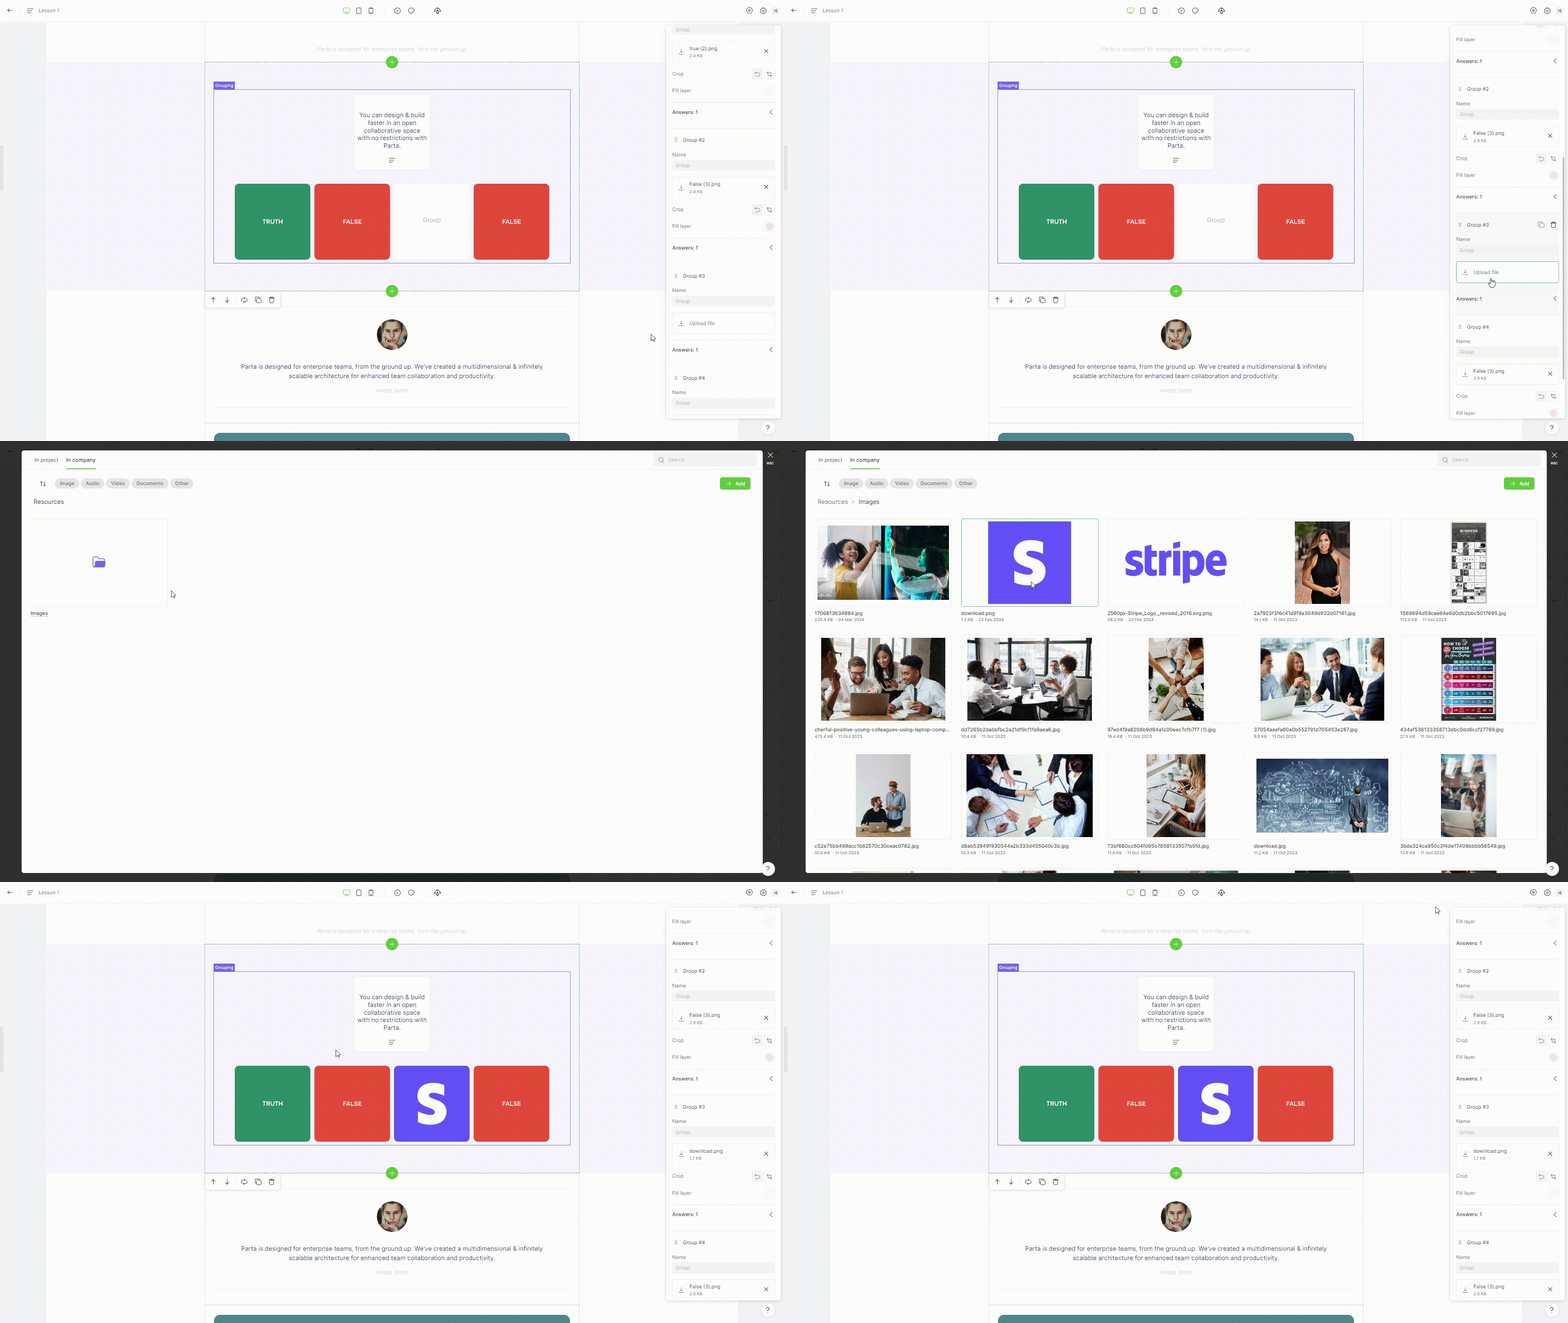
To upload group cover image, To change the image, click on the image file's name and select or [upload ](broken://pages/1zjSTjH7pgMiPT2FRC83#upload-resources)new image.